Title here
Summary here
Prerequisites
For more information on Apptainer containers, please look at this page or refer to this tutorial to have a quick look at Apptainer’s main commands.
To illustrate the various commands, a Gmsh input file is available in the form of an archive via this link. This file contains a Gmsh script defining a mesh on a simple rectangular 2D geometry. It corresponds to the first tutorial example from the Gmsh official documentation, titled Geometry basics, elementary entities, physical groups.
In this tutorial, we will assume that the input file contained in this archive is in the current directory. To extract it:
tar -xzf gmsh-tutorial-inputs.tar.gzFor impatient folks, here is how to run the input script in the case where the current directory contains the gmsh.sif container image and all necessary Gmsh input files:
apptainer exec gmsh.sif gmsh t1.geo -2This section presents different ways to use the Gmsh image. For more details about Apptainer commands, please look at this tutorial.
Gmsh is an open-source 3D finite element mesh generator.
The main executable in the image is the gmsh executable. The software version embedded in the image can be displayed with the following command:
apptainer exec gmsh.sif gmsh --versionThe input file t1.geo presented above contains a Gmsh script that defines a simple rectangular 2D geometry. Interested readers are invited to read this script for more insight on Gmsh scripting syntax.
The following command runs Gmsh with the input script t1.geo and generates a mesh file named t1.msh:
apptainer exec gmsh.sif gmsh t1.geo -2The result mesh can then be visualized through Gmsh graphical interface with the following command:
apptainer exec gmsh.sif gmsh t1.msh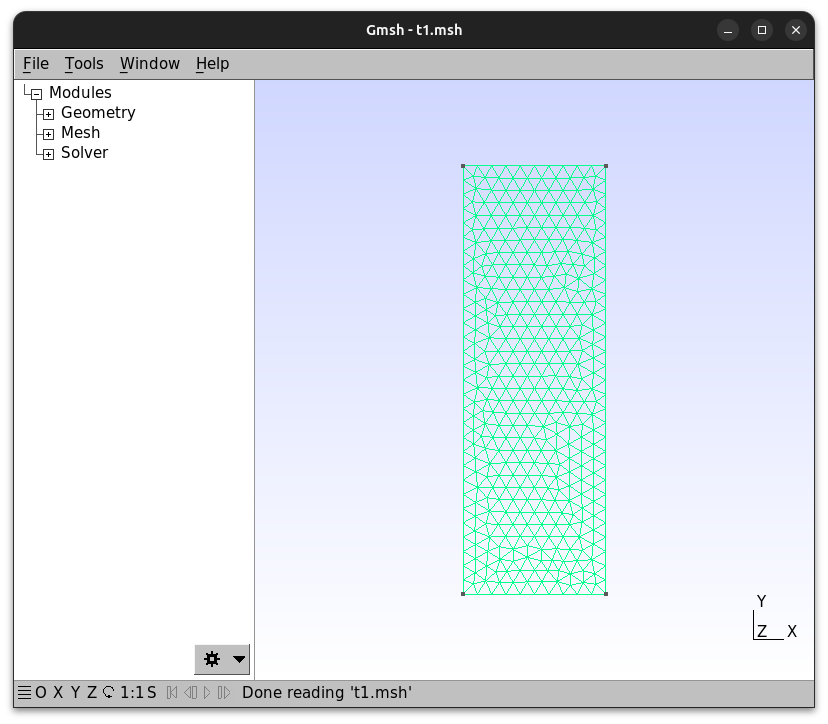
Gmsh software also features a graphical user interface (GUI) that can be alternatively used to run the input script. First, the input script needs to be imported by Gmsh. The following command opens the graphical interface:
apptainer exec gmsh.sif gmshThe t1.geo input file can then be imported with the File->Open button (or Ctrl/Command+O), which displays the imported geometry.
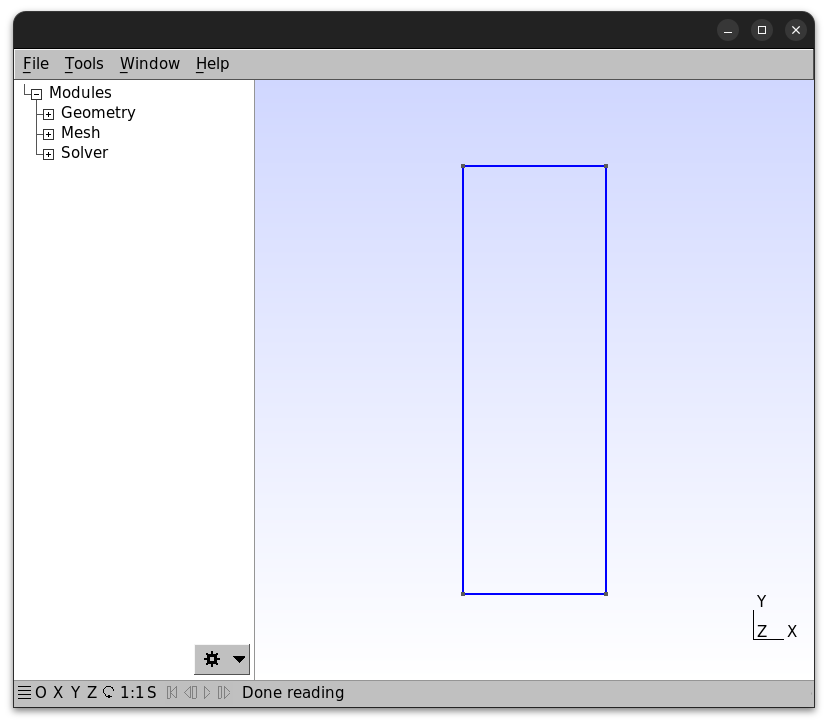
Alternatively, the script can be directly loaded when opening Gmsh GUI with the following command:
apptainer exec gmsh.sif gmsh t1.geoOnce the geometry is imported, it can be simply meshed with the Mesh->2D button. The resulting mesh can eventually be saved in a t1.msh file with the File->Save Mesh button.
The Mesh module of the GUI features a comprehensive set of tools to customize the generated mesh. This section quickly introduces two of them: Refine by splitting and Partition.
Starting with the mesh generated in the previous section, the Refine by splitting button refines the mesh by splitting it uniformly into a finer mesh.
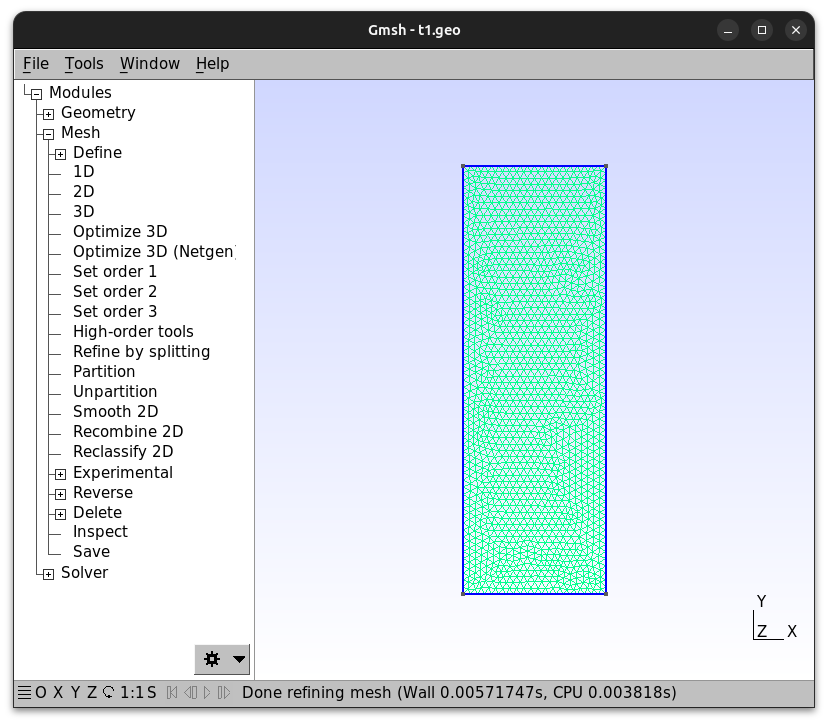
This mesh can then be saved in the same way as presented earlier.
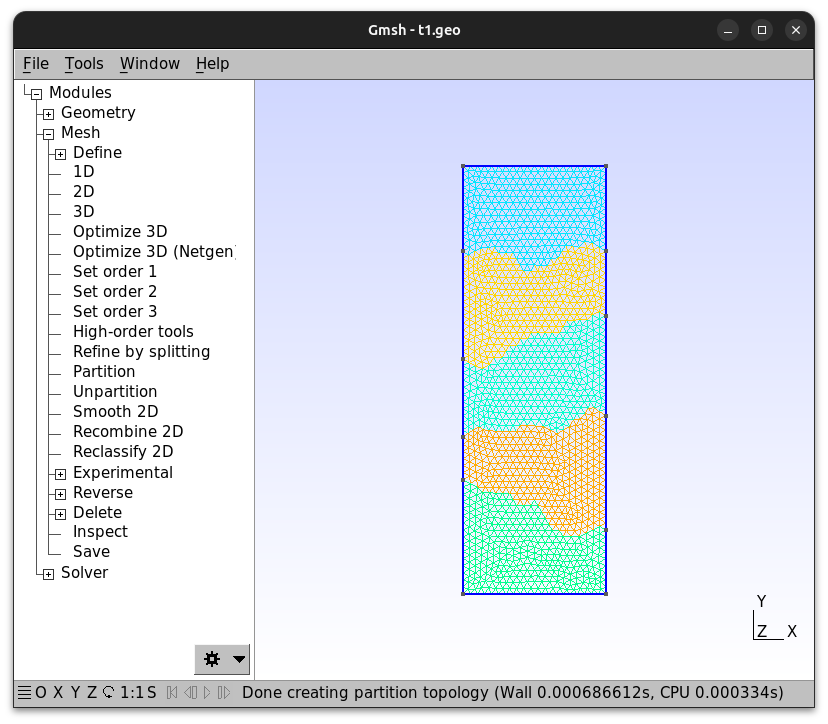
The second tool is the Partition tool. It uses an external library called METIS to split the mesh into multiple smaller meshes. Those meshes are then ready to be used with domain decomposition methods. The following figure shows the previously generated mesh split in 5 parts.
The official documentation of Gmsh features many more tutorials to introduces the software tools and features. The interested reader may find this list here. The commands used in the present tutorial to run Gmsh from the container image can be easily extrapolated to run those additional examples.